- 所有文章/
某科学的 PGP 算号指南
本文目录
前言 #
我们都知道,PGP 公钥的指纹是 40 位的十六进制哈希值,一般以结尾的 8 位或 16 位十六进制数字做为密钥的 KeyID。
一位 PGP 进步青年的科学算号实践 的作者通过「科学」的算号过程成功生成了 8 位「靓号」,但是仅仅 8 位「靓号」可能出现下面这种情况:

因为 8 位的 KeyID 太容易撞车了,所以现在很多公共 Key Server 或使用 PGP 的应用中都至少显示 16 位以上的 KeyID,我们的目标是星辰大海,所以我们要「科学」地计算至少 12 位以上的「靓号」。
结合这几天和群友的算号实践,算号难度和时间只跟一点点因素有关:PGP 密钥使用的算法、目标「靓号」的长度、算号机器的性能再加一点点运气。
开始算号 #
CPU 算号 #
CPU 算号的条件比较简单,在 Linux 和 macOS 都可以算 1 ,CPU 算号的项目:
我推荐使用 VanityGPG 项目,它的效率比较高。生成 Ed25519 类型的靓号,实测算力如下:
| CPU | Calculation |
|---|---|
| Intel Xeon Gold 6133 (4 Core) | 17,000,000 hash/s |
| Apple M1 ( MacBook Air) | 32,000,000 hash/s |
VanityGPG 比较吃 CPU 的线程数,因此选择核心和线程数量更多的算号机器效率更佳。
Linux/WSL2 安装 #
以 Debian 系统为例,安装需要的软件包
sudo apt update \
&& sudo apt install -y git \
rustc \
cargo \
clang \
make \
pkg-config \
nettle-dev \
libssl-dev \
capnproto \
libsqlite3-dev
使用 Cargo 安装 VanityGPG
cargo install vanity_gpg
macOS 安装 #
前提:安装 Homebrew 包管理器
brew install rust \
&& cargo install vanity_gpg
使用方法 #
查看 VanityGPG 帮助信息
vanity_gpg 0.3.2
A simple tool for generating and filtering vanity GPG keys, c0nCurr3nt1Y

USAGE:
    vanity_gpg [OPTIONS] --pattern <PATTERN>

OPTIONS:
    -c, --cipher-suite <CIPHER_SUITE>
            Cipher suite [default: Ed25519] [possible values: Ed25519, RSA2048, RSA3072, RSA4096,
            NISTP256, NISTP384, NISTP521]

    -d, --dry-run
            Dry run (does not save matched keys)

    -h, --help
            Print help information

    -j, --jobs <JOBS>
            Number of threads [default: 8]

    -p, --pattern <PATTERN>
            Regex pattern for matching fingerprints

    -u, --user-id <USER_ID>
            OpenPGP compatible user ID

    -v, --verbose
            Verbose level

    -V, --version
            Print version information
示例写法
vanity_gpg -c Ed25519 -j8 -u "First Name <user@xxx.com>" -p "9{12}$|E{12}$"
- 密钥的算法,可选的值有 Ed25519, RSA2048, RSA3072, RSA4096, NISTP256, NISTP384, NISTP52
- j8 代表使用 8 线程,根据算号机器的实际线程数调整
- 算号匹配规则使用的正则表达式,示例是匹配密钥结尾是 12 个 9 或 12 个 E 的密钥
- 其他信息按需修改即可,算号结果生成的密钥在当前登录用户的 Home 目录下
GPU 算号 #
GPU 算号相比 CPU 算号拥有更快的速度和效率,但是需要 nVidia 显卡和 CUDA 支持,GPU 算号的项目:
推荐使用 gpg-fingerprint-filter-gpu 项目,这是使用 RTX3090 计算 Ed25519 类型的「靓号」的算力 2
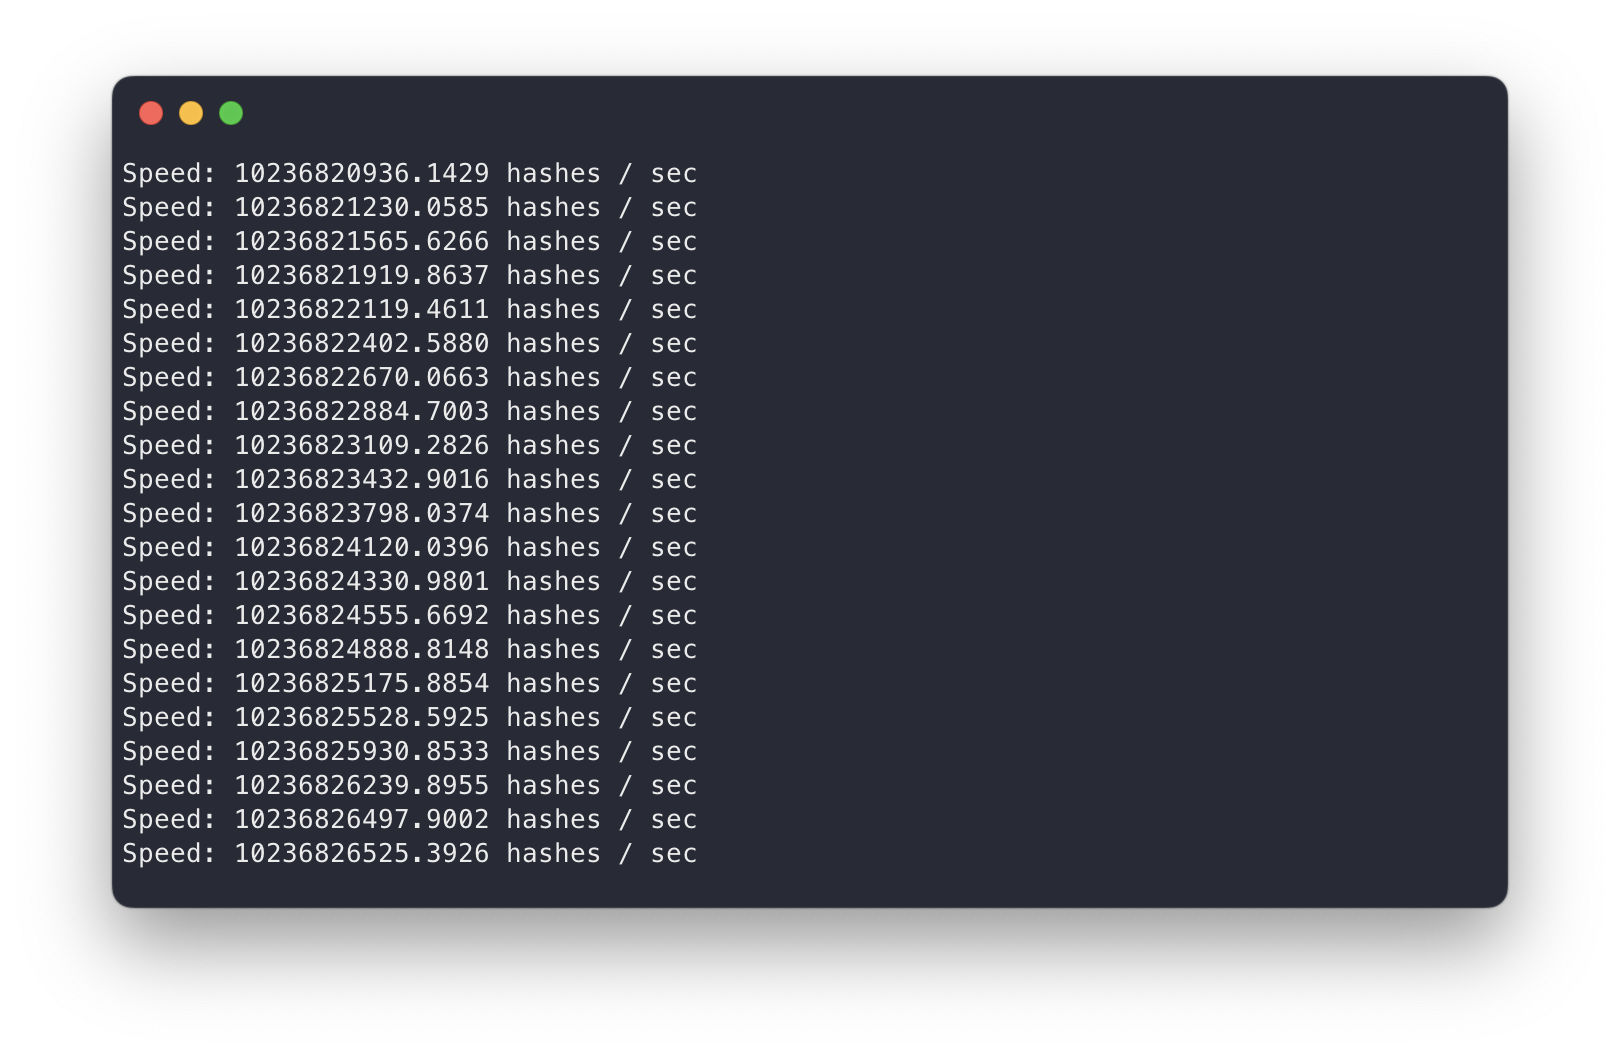
我当然知道你没有 3090 啦 3,我们可以白嫖一些 GPU 云的免费额度,算个 12 位「靓号」绰绰有余了。
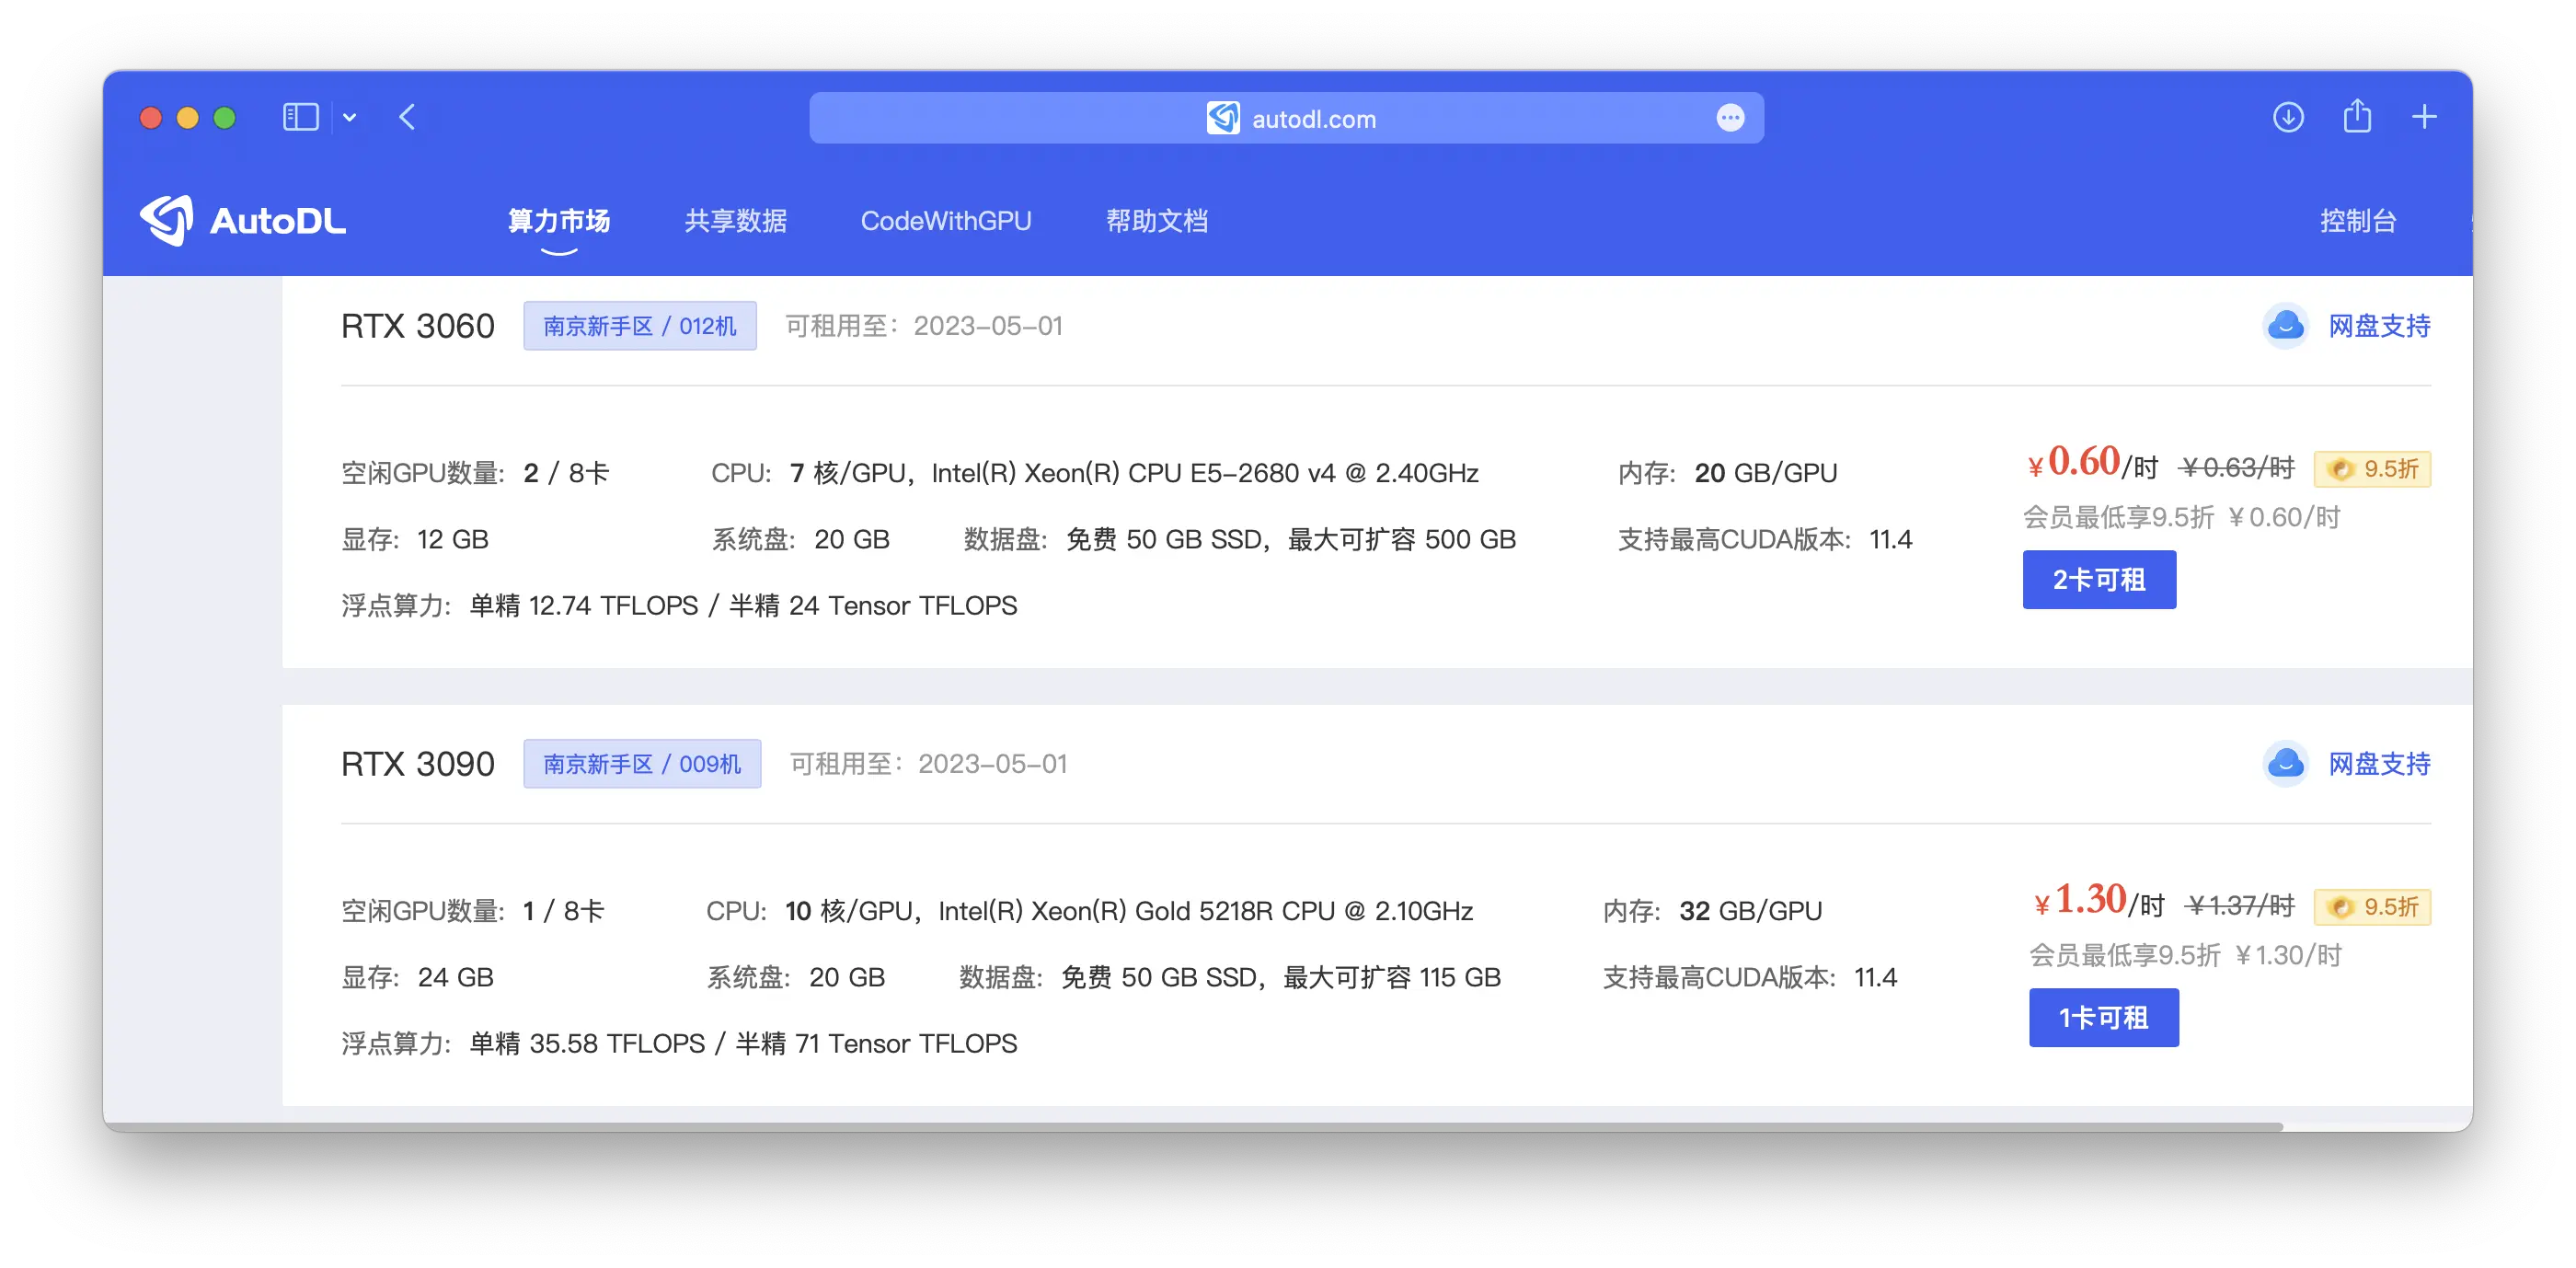
AutoDL 算力云 是国内一家良心的「炼丹云」,无需实名,新用户注册就有 10 元无门槛代金券。
10 元不够用?少年,看看价格,要不然咱怎么说人家良心呢?
如果你准备使用自己的 Linux 机器或是 WSL2,请确保提前安装好 CUDA 驱动程序,像上面 GPU 云服务商提供的机器都是默认安装好 CUDA 驱动程序的。
以 AutoDL 的 Ubuntu/CUDA 11.2 机器为例,SSH 登录服务器,准备程序需要的环境
apt update \
&& apt install libgcrypt20-dev \
&& git clone https://github.com/cuihaoleo/gpg-fingerprint-filter-gpu \
&& cd gpg-fingerprint-filter-gpu \
&& make
以 Ed25519 类型的任意连续 12 位结尾 0-F 的密钥为例,开始算号
./gpg-fingerprint-filter-gpu -a ed25519 -t 31104400 'x{12}' output.pgp
算号程序每次算到匹配的密钥就会自动停止进程,你可以使用 Shell 脚本 自动循环执行算号。这种方式算得的密钥都是空的 UID,导入的时候要带上允许空 UID 导入参数
gpg --allow-non-selfsigned-uid --import output.pgp
你也可以考虑使用百度 AI Studio 的 GPU 算力,可以长期白嫖学习,参考 使用百度飞浆 AI Studio 算 PGP 靓号教程。
后续编辑 Key 的时候要先新增 UID,再删除之前那个空的 UID 即可正常使用,具体可参考 项目文档-导入 部分。
缝合密钥 #
通过极高效率的 CPU/GPU 算号手段,现在的你已经拥有几枚至少 12 位的靓号了

对于大多数 PGP 人士来说,肯定是每个「靓号」不同的用途 4 ,所以我们要「缝合」密钥。
何谓「缝合」?像内娱的「音乐人」一样,我们也要做个裁缝。把几个「靓号」子密钥缝合到「靓号」主密钥上,最后我们得到的密钥对类似这样:
sec  ed25519/5266555555555555
     created: 2020-12-14  expires: never       usage: SC
     trust: ultimate      validity: ultimate
ssb  ed25519/4399222222222222
     created: 2022-09-14  expires: never       usage: S
ssb  rsa4096/5151EEEEEEEEEEEE
     created: 2022-10-13  expires: never       usage: E
ssb  ed25519/4578AAAAAAAAAAAA
     created: 2022-04-12  expires: never       usage: A
[ultimate] (1). Dejavu Moe <xxx@xxx.com>
准备缝合密钥之前,先把要缝的「靓号」密钥导入到现在的计算机,然后检查下导入的密钥
gpg -k
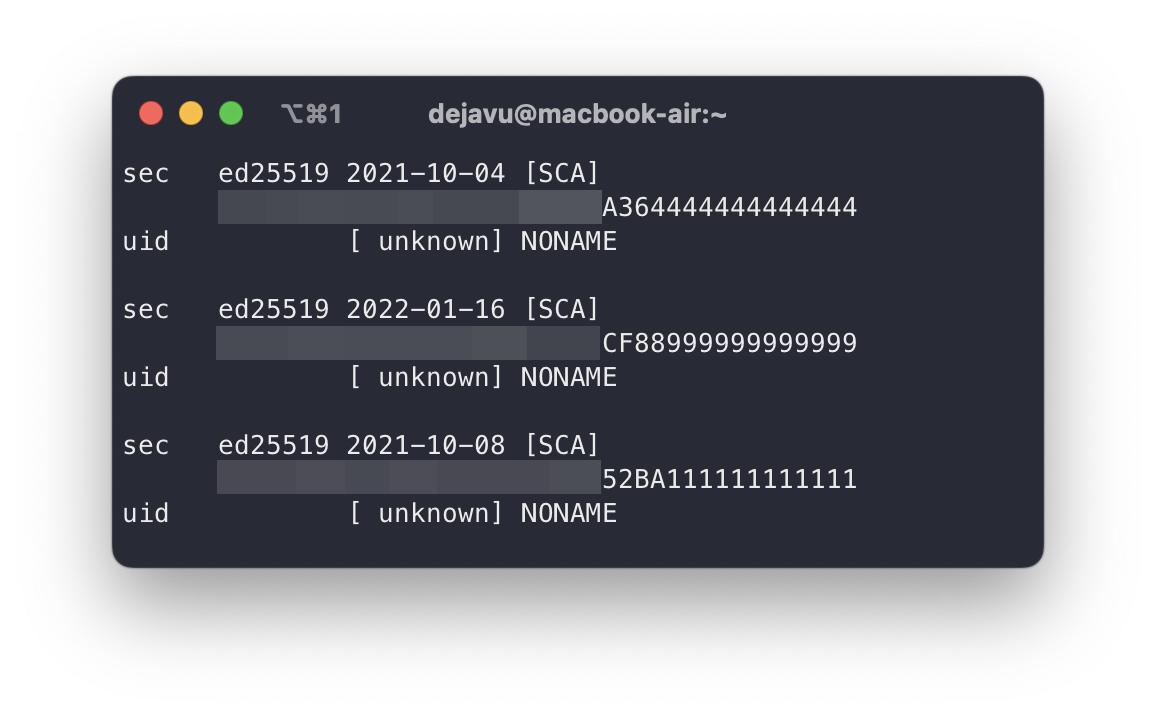
就像「爱情不是你想买就能买」,主密钥也不是你想设置哪个就用哪个。这些算号程序的本质就是修改密钥生成的时间戳,来获得新的随机密钥指纹,我们可以看到导入密钥的生成时间 5。
在缝合密钥的时候,有个大前提:主密钥的生成时间必须比子密钥要早 6。因此对于上面的一组待缝合密钥,只有生成时间最早的那个「靓号」可以做为主密钥。
添加 UID #
GPU 算号程序生成的密钥都是空 UID,我们要生成一个新的 UID 并删除之前的空 UID
gpg --edit-key A364444444444444	# 编辑主密钥
gpg (GnuPG) 2.3.7; Copyright (C) 2021 Free Software Foundation, Inc.
This is free software: you are free to change and redistribute it.
There is NO WARRANTY, to the extent permitted by law.

Secret key is available.

sec  ed25519/A364444444444444
     created: 2021-10-04  expires: never       usage: SCA
     trust: unknown       validity: unknown
[ unknown] (1). NONAME

gpg> adduid	# 添加 UID
Real name: Tony Tim	# 名称
Email address: tony.tim@dejavu.moe	#邮箱
Comment:
You selected this USER-ID:
    "Tony Tim <tony.tim@dejavu.moe>"

Change (N)ame, (C)omment, (E)mail or (O)kay/(Q)uit? Q

gpg> uid 1	# 选择空的 UID

sec  ed25519/A364444444444444
     created: 2021-10-04  expires: never       usage: SCA
     trust: unknown       validity: unknown
[ unknown] (1)* NONAME
[ unknown] (2). Tony Tim <tony.tim@dejavu.moe>

gpg> deluid	# 删除空的 UID
Really remove this user ID? (y/N) y	# 确认删除

sec  ed25519/A364444444444444
     created: 2021-10-04  expires: never       usage: SCA
     trust: unknown       validity: unknown
[ unknown] (1). Tony Tim <tony.tim@dejavu.moe>

gpg>save	# 保存修改
查看时间戳 #
即将缝合的子密钥 0xCF88999999999999,假设要给它的用途是 Sign (签名),查看生成密钥的时间戳
gpg -k --with-colons
图中框住的部分就是接下来需要的时间戳

查看 Keygrip #
查看子密钥对应的 Keygrip 并记录备用
gpg -k --with-keygrip
开始缝合 #
开始缝合子密钥到主密钥上,编辑我们的主密钥
gpg --expert --faked-system-time="[生成子密钥的时间戳]\!" --ignore-time-conflict --edit-key [主密钥 KeyID]
比如我用来演示的:
gpg --expert --faked-system-time="1642330159\!" --ignore-time-conflict --edit-key A364444444444444
缝合的最后步骤
gpg --expert --faked-system-time="1642330159\!" --ignore-time-conflict --edit-key A364444444444444
gpg (GnuPG) 2.3.7; Copyright (C) 2021 Free Software Foundation, Inc.
This is free software: you are free to change and redistribute it.
There is NO WARRANTY, to the extent permitted by law.

gpg: WARNING: running with faked system time: 2022-01-16 10:49:19
Secret key is available.

sec  ed25519/A364444444444444
     created: 2021-10-04  expires: never       usage: SCA
     trust: unknown       validity: unknown
[ unknown] (1). Tony Tim <tony.tim@dejavu.moe>

gpg> addkey	# 添加子密钥
Please select what kind of key you want:
   (3) DSA (sign only)
   (4) RSA (sign only)
   (5) Elgamal (encrypt only)
   (6) RSA (encrypt only)
   (7) DSA (set your own capabilities)
   (8) RSA (set your own capabilities)
  (10) ECC (sign only)
  (11) ECC (set your own capabilities)
  (12) ECC (encrypt only)
  (13) Existing key
  (14) Existing key from card
Your selection? 13	# 选择从现有密钥中导入
Enter the keygrip: 9195F96C656FB6D919D42D8FAB1A27ACD8E2C0ED	# 子密钥对应的 Keygrip

Possible actions for this ECC key: Sign Authenticate	# 子密钥可用的用途
Current allowed actions: Sign	# 子密钥现在的用途

   (S) Toggle the sign capability	# 切换签名用途
   (A) Toggle the authenticate capability	# 切换认证用途
   (Q) Finished

Your selection? Q	# 完成
Please specify how long the key should be valid.	# 选择过期时间
         0 = key does not expire
      <n>  = key expires in n days
      <n>w = key expires in n weeks
      <n>m = key expires in n months
      <n>y = key expires in n years
Key is valid for? (0) 0
Key does not expire at all
Is this correct? (y/N) y
Really create? (y/N) y

sec  ed25519/A364444444444444
     created: 2021-10-04  expires: never       usage: SCA
     trust: unknown       validity: unknown
ssb  ed25519/CF88999999999999
     created: 2022-01-16  expires: never       usage: S
[ unknown] (1). Tony Tim <tony.tim@dejavu.moe>

gpg> save	# 保存
现在我们的第一个用途为 Sign (签名) 的子密钥就缝合到主密钥上了,可以按照上面的步骤继续「缝合」其他用途的子密钥。
现在,少年!请带上你的 PGP 靓号去尽情冲 (zhuang) 浪 (bi) 吧!
参考资料